Now for the fun part. In the last chapter you built ShipShape's paged skeleton — five swipeable pages with names on them. In this chapter you'll start turning one of those pages into a real screen. ShipShape's prototype has four full-screen views:
- Welcome
- Step
- History
- Ready to Ship!
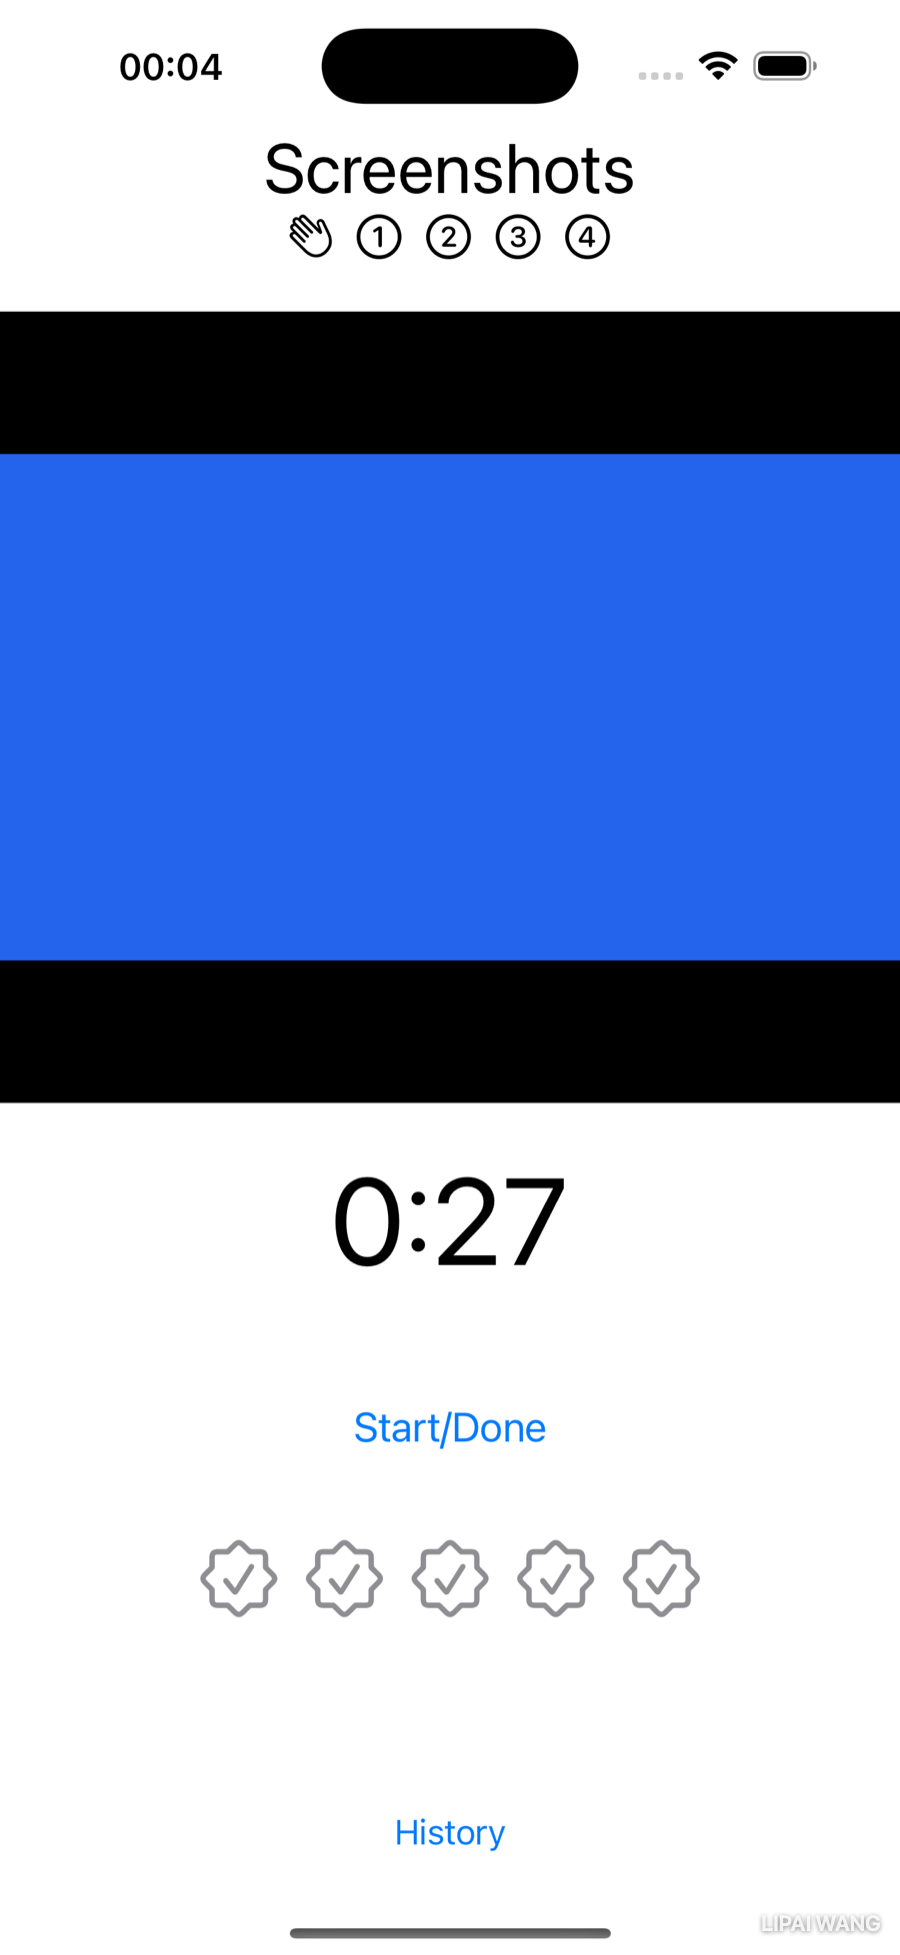
You'll build the Step view first, because it's the busiest — once you can lay out the most crowded screen, the others are easy. Here's what the user sees on a Step screen:
- A title and a row of page numbers at the top, and a History button at the bottom.
- The page numbers indicate there are four numbered pages.
- The body holds a how-to clip player, a focus timer, a Start / Done button, and a row of rating symbols.
Rewrite that as a list of subviews and you have your build plan:
- Header with page numbers
- Clip player
- Timer
- Start / Done button
- Rating
- History button
You could sketch all this in Figma or Sketch first. But SwiftUI is declarative — you just declare the views you want, in the order they should appear, and SwiftUI draws them. It's close to writing HTML: list your elements top to bottom and they stack up that way. So you'll lay it out directly in the project.
Outlining the Step View
Open StepView.swift. You'll build the iPad layout first because it gives you the most room to see what's going on, so pick an iPad simulator from the run destination menu, then Zoom to Fit so the whole iPad fits in the canvas.
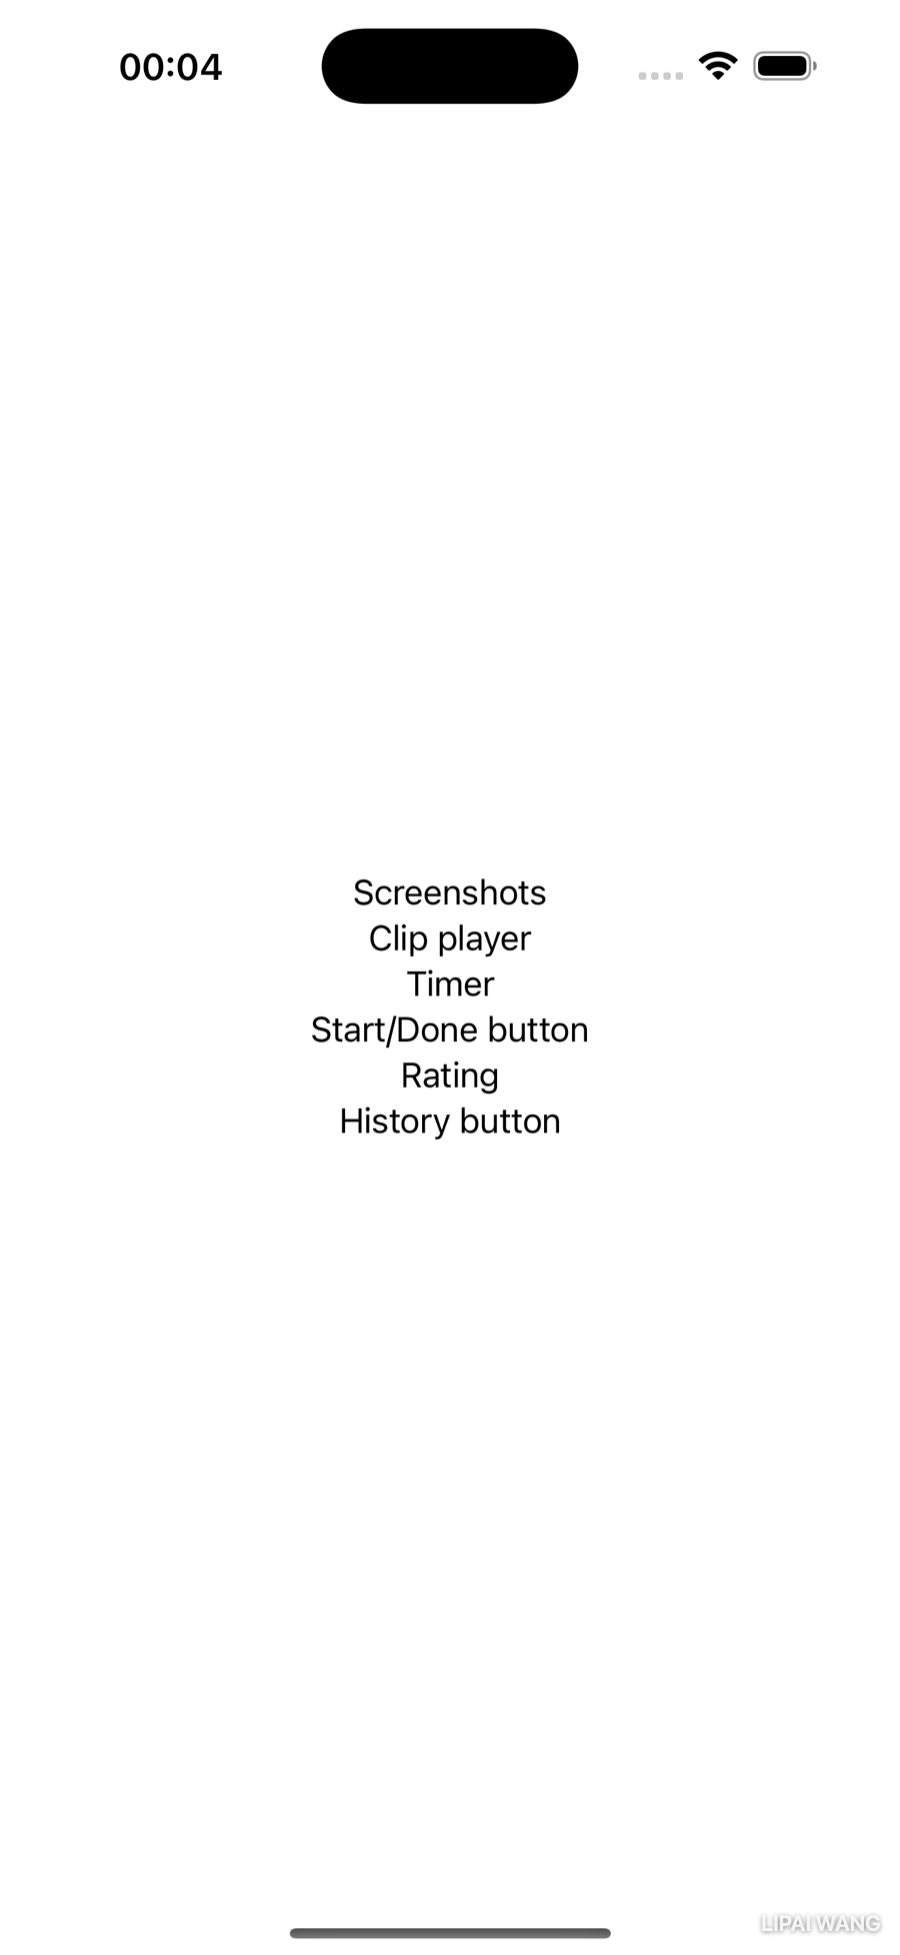
Right now body holds a single Text(stepNames[index]). Right-click that Text and choose Embed in VStack. Then duplicate the line (Command-D) and edit the copies to sketch out all six subviews as placeholders:
VStack {
  Text(stepNames[index])
  Text("Clip player")
  Text("Timer")
  Text("Start/Done button")
  Text("Rating")
  Text("History button")
}The Embed in… and Extract Subview commands only work on a single, valid line of code, and the preview canvas must be open. If the menu item is grayed out, check that you've selected exactly one view and that the canvas isn't hidden.
That's your outline. Now you'll replace each placeholder with the real thing, starting at the top.
Building the Header
The first Text is the seed of a reusable Header view. You'll grow it here inside StepView, then extract it into its own file so the Welcome screen can reuse it.
To prepare for that extraction, embed just the title Text in its own VStack. Now there's an inner VStack nested inside the top-level one:
VStack {
  VStack {
    Text(stepNames[index])
  }
  Text("Clip player")
  // …the rest of the placeholders
}
The many ways to add a modifier
SwiftUI gives you several routes to the same modifier — worth seeing them all once so you can pick your favorite.
Open the Attributes inspector (Option-Command-4). In canvas Selectable mode, click the title text. The inspector shows the most common modifier groups: Accessibility, Font, Padding, Frame. You could pick a size from the Font menu right here — but close the inspector and try the more general route instead.
Open the Library (Shift-Command-L), search for font, and drag Font onto the title Text line, dropping it when a new line opens beneath. Your code becomes:
Text(stepNames[index])
  .font(.title)
Xcode fills in .title as a placeholder; click it and press Return to accept.
Notice the modifier sits on its own line. SwiftUI views often carry a stack of modifiers, and giving each its own line makes them easy to reorder or delete — which matters, because modifier order sometimes changes the result. .padding().background(.blue) and .background(.blue).padding() do not look the same.
Want a bigger title? Control-Option-click font (or title) to pop up that modifier's Attributes inspector, open the Font menu, and choose Large Title. Or delete .title, type ., and pick largeTitle from the autocompletion list. Once these are second nature you'll just type .font(.largeTitle) directly.
The signature func font(_ font: Font?) -> Text says font takes one parameter of type Font? and returns a Text. The _ before font means there's no argument label — you call it .font(.largeTitle), not .font(font: .largeTitle). The trailing ? makes it an optional Font (more on optionals later in this chapter).
Page numbers from SF Symbols
The header also needs page numbers, with the current page emphasized. You could write Text("1"), Text("2"), and so on — but Apple ships thousands of crisp, configurable icons called SF Symbols, and there's a numbered set that's perfect here.
The free SF Symbols app (download it from Apple's SF Symbols page) is the best way to browse the catalog; its Indices category has numbers in circles and squares, filled and unfilled. But you don't even need to leave Xcode if you know part of a symbol's name.
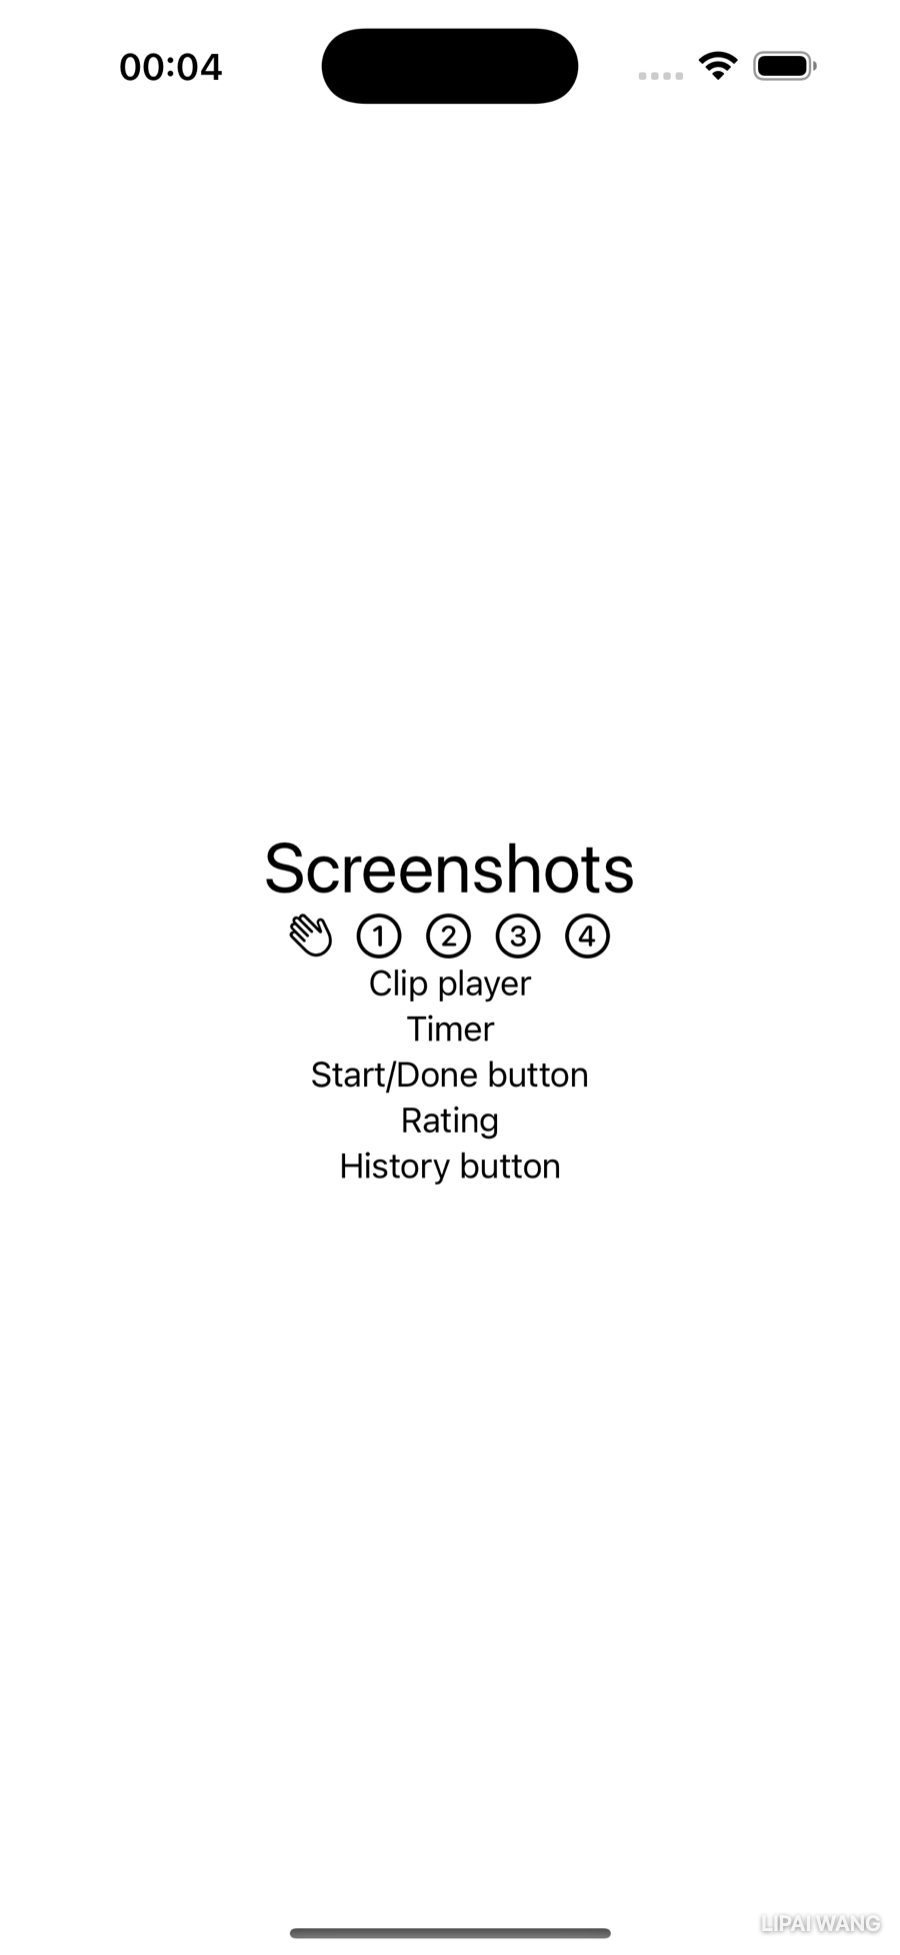
Add an Image below the title, inside the inner VStack:
Image(systemName: "")Image is a built-in view, and one of its initializers takes an SF Symbol name as a String. Put the cursor between the quotes, open the Library, switch to the Symbols tab, search 1 circle, and double-click 1.circle. Xcode drops the name in:
Image(systemName: "1.circle")Before adding the rest, embed this Image in an HStack so the numbers sit side by side, then duplicate and edit to make four:
HStack {
  Image(systemName: "1.circle")
  Image(systemName: "2.circle")
  Image(systemName: "3.circle")
  Image(systemName: "4.circle")
}
The numbers look tiny. But because SF Symbols are built into the San Francisco system font — that's the "SF" — you can size them like text with .font. Apply it to the HStack so all four scale together:
HStack {
  Image(systemName: "1.circle")
  Image(systemName: "2.circle")
  Image(systemName: "3.circle")
  Image(systemName: "4.circle")
}
.font(.title2)
A modifier on a single Image overrides the container's. Try making the first number huge with .font(.largeTitle), watch it grow, then delete that override so all four match again.
Some SF Symbols are reserved for specific Apple features (FaceTime, AirPods, and the like) and can't be used to represent your own functionality. The numbered indices are fine, but when you reach for an unfamiliar symbol, check it on the SF Symbols site for usage restrictions before relying on it in a real app.
Extracting the Header into Its Own File
Your header — the inner VStack with the title and the page-number HStack — will also appear on the Welcome screen, so make it reusable.
Right-click the inner VStack and choose Extract Subview. Xcode moves the whole stack into a new view named ExtractedView and leaves an ExtractedView() call where the code used to be. If the name is highlighted, type HeaderView and press Return; otherwise select ExtractedView, right-click, choose Refactor ▸ Rename…, type HeaderView, and click Rename — that renames both the declaration and the call at once.
Pass only what it needs
HeaderView now shows an error, because it references stepNames[index] and neither stepNames nor index exists in the extracted view. You could hand it the whole index and give it access to the array — but a good subview takes just enough information to do its job. The header only needs the step's name. Add a property above its body:
let stepName: Stringand use it in the title:
Text(stepName)Scroll up to StepView, where the HeaderView() call now reports a missing argument. Click the error, click Fix, and finish the line:
HeaderView(stepName: stepNames[index])A view that needs only a String is trivial to preview — HeaderView(stepName: "Screenshots") and you're done. A view that needs an index and an array is harder to set up, harder to test, and coupled to data it shouldn't care about. Narrow inputs make subviews portable.
Move it to a new file
Press Command-N, create a SwiftUI View file named HeaderView.swift. Because you were in StepView.swift (inside the Views group), Xcode puts the new file there too. It opens with two errors:
- Invalid redeclaration of 'HeaderView' — the name now exists twice.
- Missing argument for parameter 'stepName' — the boilerplate preview.
Fix the first by going back to StepView.swift, selecting your whole HeaderView struct, and pressing Command-X to cut it. Then in HeaderView.swift, replace the boilerplate HeaderView with the clipboard contents. Fix the second by letting Xcode add the missing parameter to the #Preview and supplying any name:
HeaderView(stepName: "Screenshots")Because the header takes only a name, its preview needs nothing else.
Working With Previews
The preview is still rendering on a whole iPad, which is overkill for a header. Previews can do far more than show one device.
Size that fits
In HeaderView.swift, change the preview to size itself to the view:
#Preview(traits: .sizeThatFitsLayout) {Switch to Selectable mode and Zoom to 100% — now you see just the header, no device frame. A compact preview makes the next tricks easier to appreciate.
Variants
Click the Variants button (next to Selectable) and choose Color Scheme Variants to see light and dark side by side. Try Dynamic Type Variants to see the header at every text size, from extra-small up through the largest accessibility sizes. Switch back to StepView.swift and try Orientation Variants to see portrait and landscape together.
Users set their preferred text size in Settings ▸ Display & Brightness ▸ Text Size, and even larger sizes under Accessibility ▸ Display & Text Size. Because you sized the title with a semantic font like .largeTitle instead of a fixed 36 points, your header grows and shrinks with that setting automatically. Dynamic Type Variants let you confirm nothing important gets clipped at the extremes.
Click Live Preview or Selectable to stop showing variants.
Modeling the Data With a Step Type
ShipShape currently leans on two parallel arrays of strings, stepNames and clipNames. That worked for getting the header up, but it's fragile: add a step and you have to keep both arrays lined up by hand, in the same order, forever. It's safer to bundle each step's data into a named type.
You'll define a Step structure, build an array of Step instances, and loop over that array to create the pages.
Mini-exercise
Before reading on, write down what one Step actually is. What pieces of data does a single prep step carry? (You already know — they're the two things the parallel arrays were tracking.) Naming them yourself first makes the struct below feel obvious instead of handed to you.
Select a file outside the Views group, then press Command-N and create a plain Swift File (not a SwiftUI View — Step models data, it isn't a view) named Step.swift. It belongs in the app's main group, not in Views; drag it out if Xcode misfiles it. Add this below import Foundation:
struct Step {
  let stepName: String
  let clipName: String

  enum StepEnum: String {
    case screenshots = "Screenshots"
    case metadata = "Metadata"
    case keywords = "Keywords"
    case finalQA = "Final QA"
  }
}
enum is short for enumeration — a named type that groups a fixed set of related values, so the compiler can stop you from, say, misspelling "Screenshots" as "Screenshot". The case names are lowerCamelCase (finalQA), and because this enum has a String raw value, each case carries the user-facing text: StepEnum.finalQA.rawValue is "Final QA".
A stored property declares a type and/or an initial value and holds it: let stepName: String. A computed property declares a type and a closure that calculates the value every time it's read: var body: some View { … } is computed. You've been writing computed properties since Chapter 1 — body is one.
An array of steps, as a type property
Below Step — completely outside its braces — add an extension that builds the array:
extension Step {
  static let steps = [
    Step(
      stepName: StepEnum.screenshots.rawValue,
      clipName: "screenshots"),
    Step(
      stepName: StepEnum.metadata.rawValue,
      clipName: "metadata"),
    Step(
      stepName: StepEnum.keywords.rawValue,
      clipName: "keywords"),
    Step(
      stepName: StepEnum.finalQA.rawValue,
      clipName: "final-qa")
  ]
}
Three ideas are packed in here:
- Memberwise initializer. You never wrote an
initforStep, yetStep(stepName:clipName:)works — Swift synthesizes a memberwise initializer for any struct that doesn't define its own. - Type property.
stepNameandclipNameare instance properties: everyStephas its own.stepsis markedstatic, making it a type property — there's exactly onesteps, no matter how manyStepinstances exist, and you reach it through the type:Step.steps. It's built from an array literal: a comma-separated list of values in square brackets. - Extension. An
extensionadds to an existing named type. You can even extend built-in types — adding a custom helper toDateorImage, for instance. HereStepis your own type, so the extension is pure housekeeping: it keeps "build the catalog of steps" separate from "define what a step is." Developers also use one extension per protocol conformance to keep that code grouped. Tidy seams make it obvious where to add features or hunt bugs.
Refactor ContentView and StepView to use it
In ContentView.swift, replace the ForEach line so it loops over the array's own indices instead of a hard-coded range:
ForEach(Step.steps.indices, id: \.self) { index inBecause Step.steps.indices isn't a fixed literal range, ForEach needs to know how to tell the elements apart — that's the id. \.self says "each index is its own unique identifier."
In StepView.swift, delete the stepNames and clipNames arrays. The errors point at every place that used them. You'll reach for Step.steps[index] repeatedly, so give it a name with a computed property, just below let index: Int:
var step: Step {
  Step.steps[index]
}
Then fix the header call to use it:
HeaderView(stepName: step.stepName)Live Preview ContentView and swipe — every page still shows the right name, now driven by your Step model instead of loose strings.
Playing the How-To Clip
Each step has a short screen-recording that shows the task being done. To play video, you need Apple's media kit. In StepView.swift, add this import below import SwiftUI:
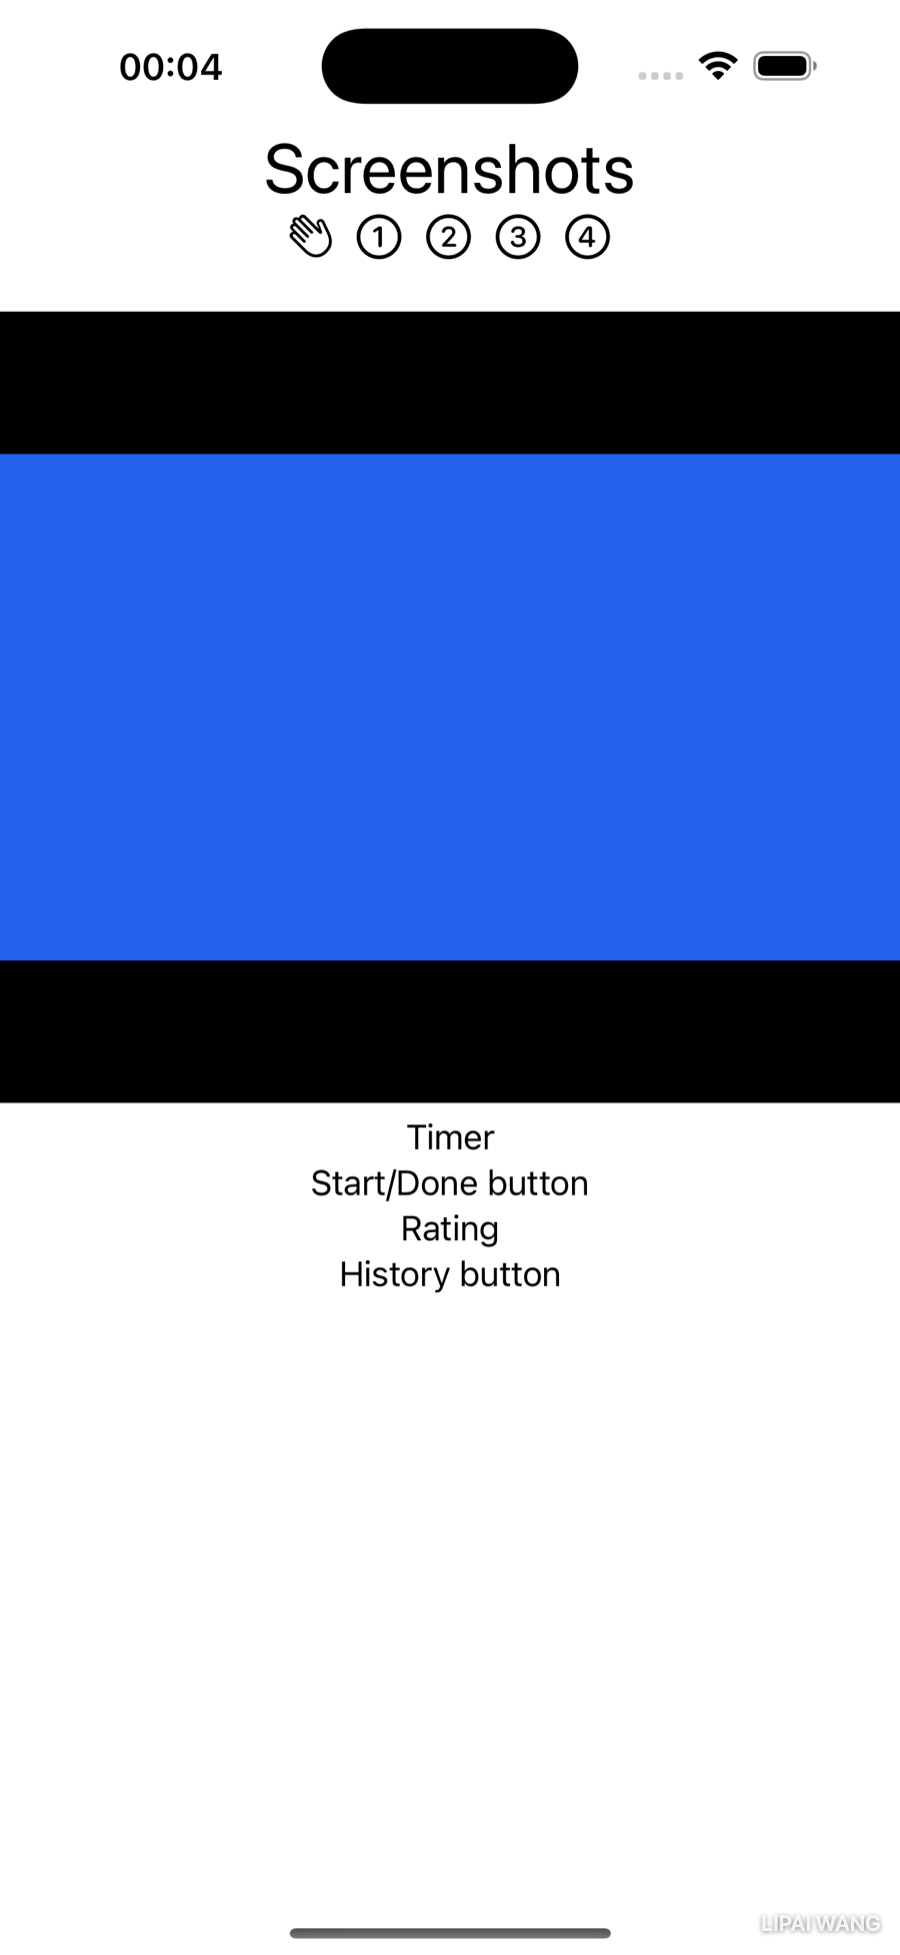
import AVKitAVKit gives you high-level types like AVPlayer and the ready-made VideoPlayer view, complete with standard playback controls. Replace Text("Clip player") with:
VideoPlayer(player: AVPlayer(url: url))Xcode complains it "cannot find 'url' in scope" — you'll supply it next.
Finding a file in the app bundle
Your clip files ship inside the app, in a location you reach as Bundle.main. Its method url(forResource:withExtension:) returns the URL of a bundled file if it exists — and nil if it doesn't. So its return type is an optional URL, written URL?.
An optional is a type that may hold a value or hold nothing (nil). You write it with a trailing ?: var count: Int? can be an Int or empty, while var count: Int must always be an Int. Optionals are how Swift forces you to handle the "what if it's not there?" case at compile time, heading off a whole category of crashes. To use one safely, unwrap it with if let count { … } — the block runs only when there's a value.
So the VideoPlayer needs to be wrapped in an if let. That's yet another pair of braces to balance — but let Xcode do it. Right-click VideoPlayer and choose Make Conditional:
if true {
  VideoPlayer(player: AVPlayer(url: url))
} else {
  EmptyView()
}
Replace if true { with the real unwrap:
if let url = Bundle.main.url(
  forResource: step.clipName,
  withExtension: "mp4") {
and replace the else branch's EmptyView() with a visible fallback:
Text("Couldn't find \(step.clipName).mp4")
.foregroundColor(.red)\(step.clipName) is string interpolation — it drops the value of step.clipName straight into the surrounding string literal. If clipName is "final-qa", the fallback reads Couldn't find final-qa.mp4.
For the prototype, drag four short .mp4 files into the project (named screenshots.mp4, metadata.mp4, keywords.mp4, final-qa.mp4) and make sure the ShipShape target is checked when adding them — otherwise they won't be in the bundle and you'll see the red fallback. Any short screen recording will do; you'll record real ones when you build the app for keeps.
In Live Preview, click on or near the clip to reveal the play button. (When you run from ContentView, click the center of the clip to play or pause.)
Sizing to the screen with GeometryReader
The clip hogs the screen. You could hard-code a width and height, but it's better to size it relative to the device. In body, right-click the top-level VStack and choose Embed…, then change the Container { placeholder to:
GeometryReader { geometry inGeometryReader is a container that hands you the available dimensions for whatever device you're previewing or running on. Add this modifier to the VideoPlayer:
.frame(height: geometry.size.height * 0.45)Now the clip takes 45% of the screen height — and adapts on every device.
A little padding
The header looks cramped against the clip. Control-Option-click HeaderView and add bottom padding, giving you:
HeaderView(stepName: step.stepName)
.padding(.bottom)You could have baked the padding into HeaderView itself, but leaving it out keeps HeaderView more reusable — each screen that uses it decides whether (and how much) to pad. Push styling decisions out to the caller when a subview might be reused in different contexts.
Swipe through ContentView in Live Preview and each page now plays its own clip.
Timer, Buttons, and Rating
Three subviews left. None is wired up yet — they're prototype shells you'll bring to life in later chapters.
The timer
ShipShape time-boxes each task with a short focus countdown. Add an interval property to StepView, above body:
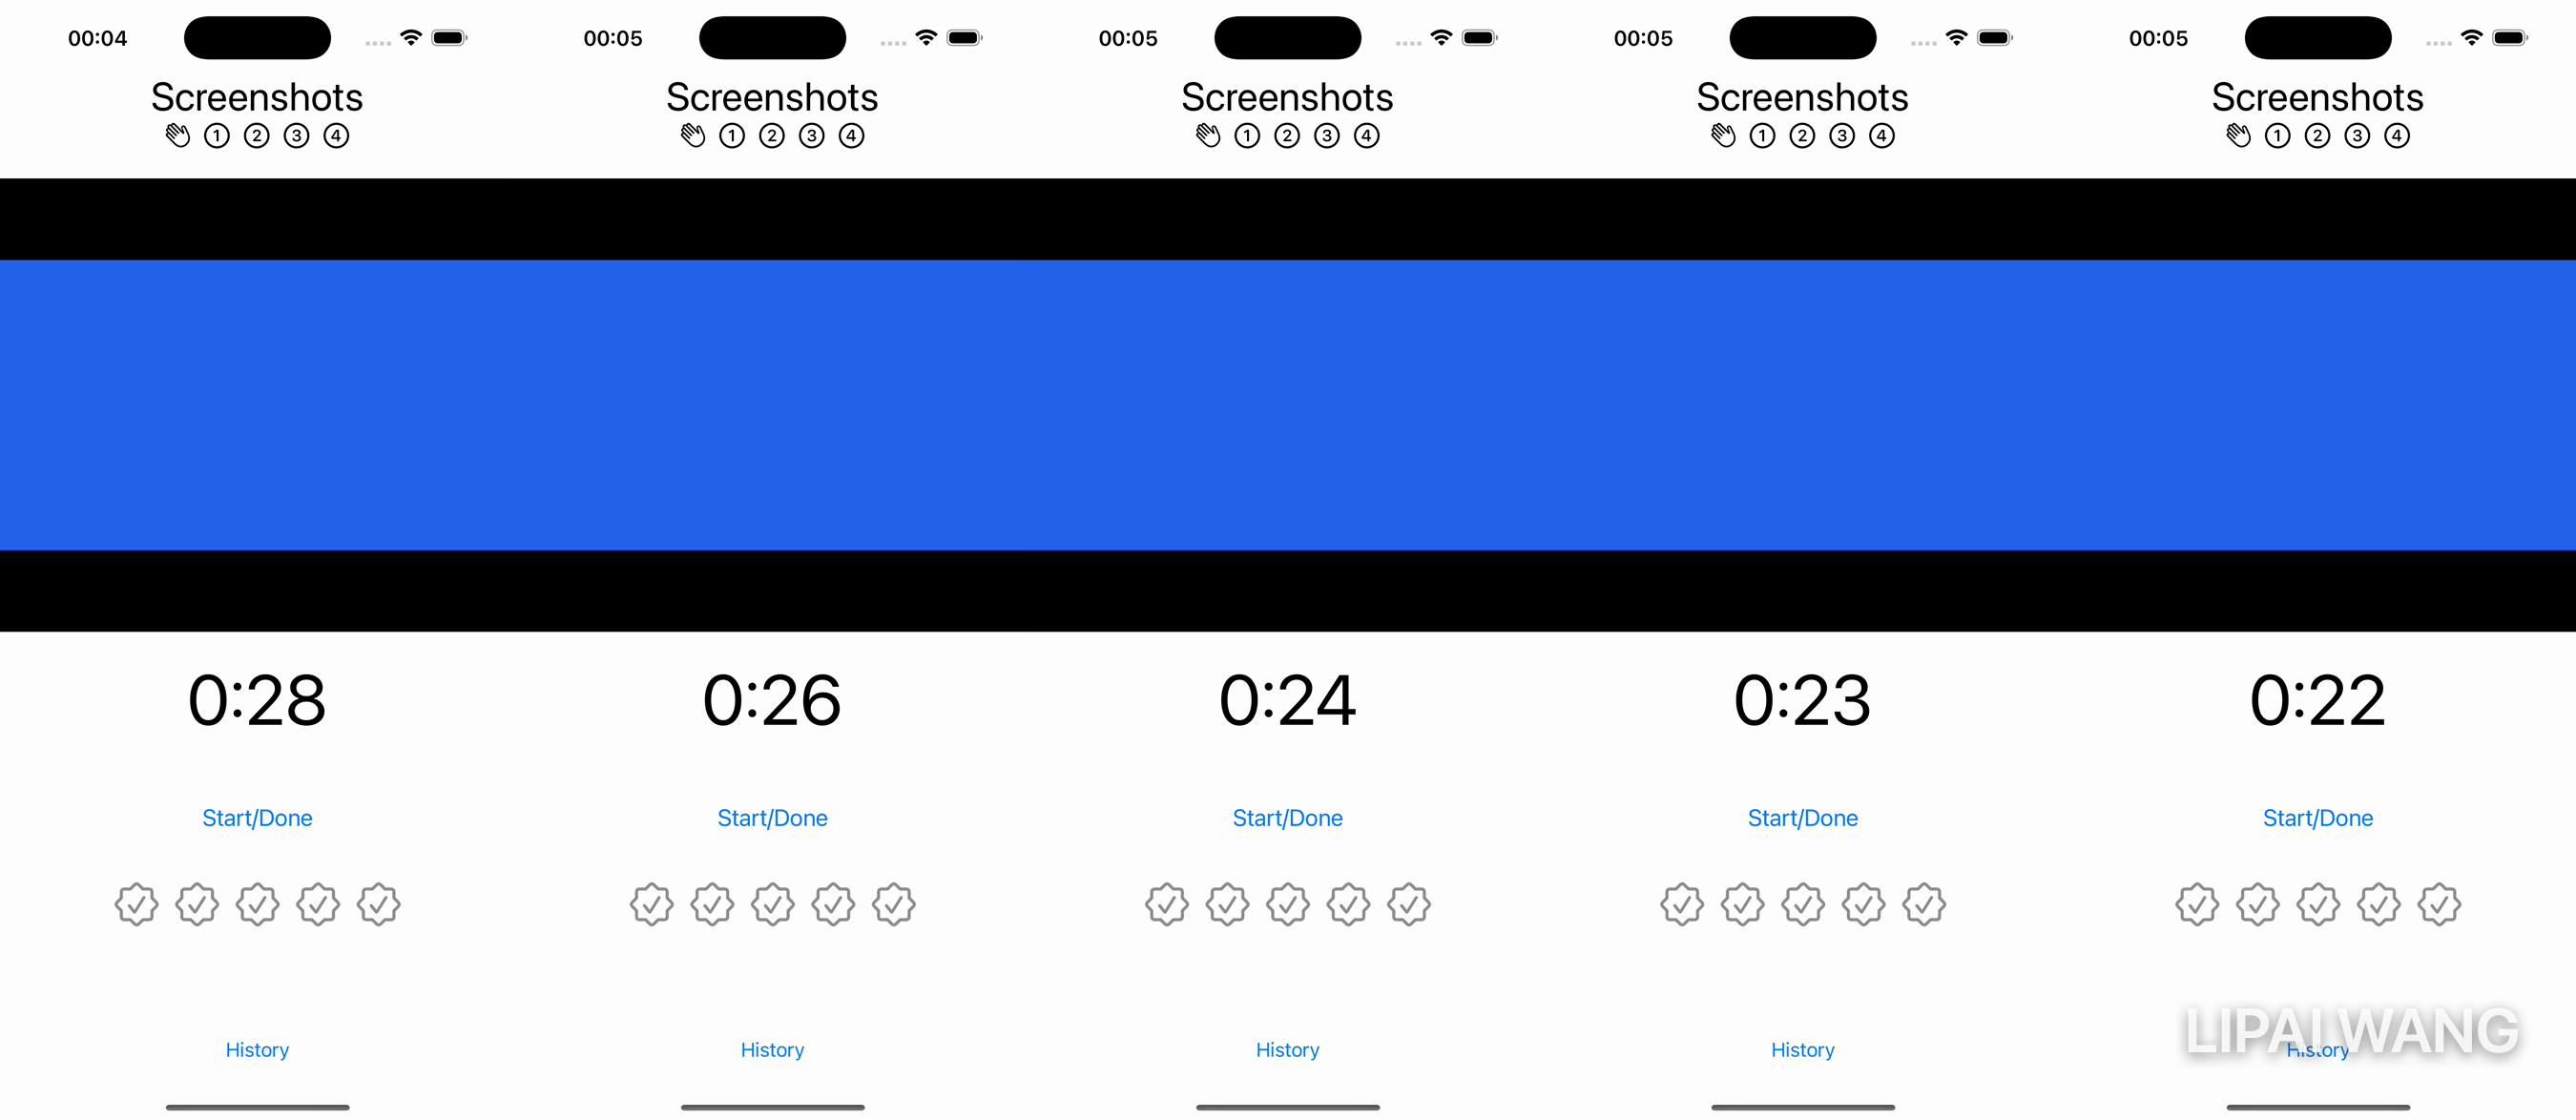
let interval: TimeInterval = 30Replace Text("Timer") with:
Text(Date().addingTimeInterval(interval), style: .timer)
  .font(.system(size: geometry.size.height * 0.07))
Date() creates a value for right now, and addingTimeInterval(_:) returns a date interval seconds in the future. The Text(_:style:) initializer with .timer displays the gap between now and that future date as a live "mm:ss" countdown, updating every second. Sizing the font to geometry.size.height * 0.07 makes it big — roughly 95 points on a large iPad, about half that on a phone.
TimeInterval, and a strongly typed languageTimeInterval is just a type alias for Double — same type, clearer intent. Swift is strongly typed: it won't silently convert between types, so you write conversions explicitly, like Double(someInt) or Int(someDouble) (which truncates). That verbosity is the point — it makes type changes visible to you and to "future you," instead of hiding bugs behind automatic coercion.
Live Preview and watch it count down from 0:30. (If you let it hit zero it starts counting up, since "now" then moves past the target date. Set interval = 3 if you don't want to wait. It's a prototype stand-in — you'll build a real timer when you add state.)
The buttons
Buttons are quick, so do both. Replace Text("Start/Done button") with:
Button("Start/Done") { }
  .font(.title3)
  .padding()
That's a button labeled "Start/Done" with an empty action (you'll fill it in once you have state to change), a slightly larger label, and padding around it. Replace Text("History button") with:
Spacer()
Button("History") { }
  .padding(.bottom)
Spacer() expands to shove the History button down to the bottom of the screen; the bottom padding nudges it back up so it isn't jammed against the edge.
The rating view
The rating lets the user record how ship-ready a step feels. Create a new SwiftUI View file in the Views group named RatingView.swift. It's a small view, so set its preview to fit:
#Preview(traits: .sizeThatFitsLayout) {Switch to Selectable mode and Zoom to 100%. Replace the boilerplate Text with an Image, leaving the cursor between the quotes:
Image(systemName: "")
  .foregroundColor(.gray)
A rating is usually five stars or hearts, but pick a symbol that fits the meaning — here, a seal of approval reads as "this is ready." Open the Library, search Symbols for seal, and double-click checkmark.seal:
Image(systemName: "checkmark.seal")
  .foregroundColor(.gray)
You need five, in a row. Right-click Image and choose Repeat. Xcode gives you a loop with a placeholder range:
ForEach(0 ..< 5) { item in
  Image(systemName: "checkmark.seal")
    .foregroundColor(.gray)
}
Click the range and press Return to accept it. The five images stack vertically, so right-click ForEach and embed it in an HStack:
HStack {
  ForEach(0 ..< 5) { item in
    Image(systemName: "checkmark.seal")
      .foregroundColor(.gray)
  }
}
In a row now — but small. Size them up with a font on the Image:
.font(.largeTitle)One loose end: the loop's item parameter is never used. Replace it with _:
ForEach(0 ..< 5) { _ in_When a closure parameter goes unused, replace its name with an underscore. Inventing a throwaway name costs you focus to write and costs the next reader focus to wonder whether it matters. _ says plainly: "there's a value here, and we're ignoring it."
Back in StepView.swift, replace Text("Rating") with your new view:
RatingView()
  .padding()
Five seals now march across the Step screen. In a later chapter you'll let the user tap to set a rating and color the filled-in seals; later still, you'll save those ratings so they survive relaunches.
Challenges
Challenge 1: extract a ClipPlayerView
StepView will be much easier to read if its big pieces live in their own files — you already did this with HeaderView. Do the same for the clip player. Move the if let / VideoPlayer / else block into a new SwiftUI view file named ClipPlayerView.swift with a clipName parameter, so StepView can call it like this:
ClipPlayerView(clipName: step.clipName)
  .frame(height: geometry.size.height * 0.45)
Keep the .frame modifier on the caller side, as shown — sizing is the parent's job, just like the header's padding.
Challenge 2: a fifth step, the typed way
In Chapter 2 you added a Submit for Review step using parallel arrays. Add it again, the safe way: a new submitForReview case in StepEnum (with the right raw value) and a matching entry in Step.steps. Notice you didn't touch ContentView at all — because it loops over Step.steps.indices, the new page appears for free. That's the payoff of modeling your data.
Challenge 3: preview the Step view on a phone
StepView's #Preview currently has no index you control from the canvas. Give the preview a fixed StepView(index: 0) if it doesn't already, then use the canvas device picker to preview it on an iPhone as well as the iPad. Does the timer font (sized by geometry) still look right on the smaller screen? This is exactly the kind of cross-device check previews exist for.
Key Points
- SwiftUI is declarative: list the views you want, in order, and SwiftUI lays them out. Sketch a busy screen with placeholder
Textviews first, then replace them one by one. - Build your UI from small, single-purpose subviews in their own files — easier to read, test, preview, and reuse. Extract Subview does the heavy lifting.
- Pass a subview just enough data (
HeaderViewtakes aString, not anindexand an array). Narrow inputs make a view portable and its preview trivial. - Put each modifier on its own line — they're easy to reorder or remove, and order can change the result.
- The SF Symbols app and Xcode's Symbols Library give you font-scalable icons; size them with
.fontlike any text. - Preview variants check color scheme, Dynamic Type, and orientation at a glance;
.sizeThatFitsLayouttrims the preview to just your view. - An enum groups related values so the compiler catches typos; a
statictype property likeStep.stepsbelongs to the type, not an instance; an extension keeps secondary code separate from a type's core definition. - Swift is strongly typed and uses optionals (
URL?) to force you to handle the "no value" case — unwrap withif let. GeometryReaderlets you size views relative to the screen so layouts adapt across devices.- Let Xcode keep your braces balanced with Embed in…, Make Conditional, and Repeat.
In the next chapter you'll build out the three remaining screens — History, Welcome, and Ready to Ship! — reusing the HeaderView you just extracted and meeting a few new layout tools along the way.

Ultimate iOS Bootcamp: Master Swift & SwiftUI App THE HARD WAY
Ship your apps faster
When you're ready to publish your Swift app to the App Store, Simple App Shipper handles metadata, screenshots, TestFlight, and submissions — all in one place.
Try Simple App Shipper